


Quick Installation & Safety Checklist
Before you begin drilling, use this checklist to ensure a secure installation. These steps are designed to reduce the risk of wall failure, though they should always be secondary to the specific instructions provided by your furniture manufacturer.
- Pre-Installation Wall Audit: Identify your wall type (wood stud, metal stud, or masonry). Never assume drywall alone can support a floating TV stand intended for a television unless the product is specifically rated for drywall-only mounting with specialized high-capacity toggles.
- The "Two-Stud" Rule: For any floating console holding a TV, the mounting bracket should ideally be secured into at least two wood studs. If your stand is wider than 32 inches, aim for three studs to distribute the load more effectively.
- Hardware Matching: Use lag screws (minimum 2.5 to 3 inches) for wood studs and specialized snap-toggles for metal studs. Avoid plastic expansion anchors for any load-bearing furniture; they are generally intended for static, lightweight decor.
- Stability Verification: Once mounted, apply a firm, steady downward pressure. While some installers use a "1.5x expected load" rule of thumb, only perform this test if you are certain your hardware and wall type are rated for such force. Check for any "gap" opening between the wall and the top of the stand.
Properly mounting a floating TV stand requires locating wall studs and fastening into them whenever possible. This approach minimizes risks of sagging or sudden collapse that can damage walls and equipment. Understanding the difference between stud mounting and drywall anchoring helps you balance the "floating" aesthetic with real-world structural integrity.

Why Mounting Method Matters for Floating TV Stands
Floating TV stands create a sleek, space-saving media center by attaching directly to the wall. However, the wall must handle the "cantilevered" load—the combined weight of the stand, TV, and accessories pulling away from the wall surface. This official anchoring guidance emphasizes using a stud finder and proper tools, as drywall alone lacks the structural density to resist long-term pull-out forces from heavy furniture.
Drywall is a finished surface, not a structural one. Studs—typically wooden framing members spaced 16 or 24 inches apart—provide the solid backing needed to anchor heavy loads. Skipping the studs is the leading cause of "wall-tear," where the weight of the console literally rips the outer layer of sheetrock away.
Section Conclusion: Always prioritize structural framing (studs) over the cosmetic surface (drywall) to ensure long-term safety.

Drywall-Only vs. Stud Mounting: Key Differences
Drywall mounting involves anchors or toggles that expand behind the sheetrock. While high-end toggle bolts can have high "shear" strength (vertical weight), their "pull-out" strength (horizontal force) is much lower. Consumer testing shows that spreading the load across multiple studs is the only way to ensure the stand won't tilt forward over time.
Wall Type & Hardware Strategy Table
| Wall Type | Recommended Strategy | Hardware Note |
|---|---|---|
| Wood Studs | Direct Lag Screw Mounting | Preferred. Pre-drill pilot holes to prevent wood splitting. |
| Metal Studs | Snap Toggles or Backing Board | Standard wood screws will not hold. Use heavy-duty 1/4-in toggles. |
| Drywall Only | Not Recommended for TVs | Only for ultra-light decor (<10 lbs) unless using specialized, rated systems. |
| Masonry/Brick | Concrete Anchors or Sleeve Bolts | Requires a hammer drill and masonry-rated bits for a secure bite. |
The "Backing Board" Solution
If your studs do not align with the mounting holes of your stand, do not settle for drywall anchors. Instead, install a backing board (or "cleat"):
- Use a 3/4-inch thick piece of plywood or a 1x6 lumber board.
- Secure the board horizontally across at least two (preferably three) studs using 3-inch structural screws.
- Ensure screws penetrate the studs by at least 1.5 inches.
- Mount your TV stand bracket directly to this reinforced board.
Relative Mounting Safety and Load Suitability
Relative comparison for installation decisions; higher load suitability is better, while higher risk is worse.
View chart data
| Category | Load suitability | Relative risk |
|---|---|---|
| Drywall only (light-duty anchors) | 2.0 | 5.0 |
| Into stud (preferred for heavier loads) | 5.0 | 1.0 |
| Drywall + rated anchor (limited cases) | 3.0 | 3.0 |
Illustrative heuristic comparison based on safety guidance: stud mounting is preferred for heavier loads, drywall-only is best kept to light-duty items, and rated anchors can extend use in limited cases. Values are relative scores, not measured capacities.
How to Locate Studs and Prepare Your Wall
Start with a reliable electronic stud finder to scan the wall horizontally. Mark each stud edge clearly—most interior walls have studs every 16 inches on center. To avoid "false positives" (like pipes or wires), verify the center of the stud by using a small finishing nail to poke through the drywall in an area that will be hidden by the stand.
Measure and mark the exact mounting height, ensuring the bracket hits the center of the studs. Consumer Reports' wall-mounting guide recommends treating studs as the primary anchor point for any electronics-related wall installation.
Section Conclusion: Accurate marking is the foundation of a level installation; always double-check your "on-center" measurements before drilling.
Load Management: The Safety Verification Template
Before mounting, perform a quick "Load Audit" to ensure your wall and hardware can handle the stress.
Load Calculation Template
- Stand Weight: (Check product box/manual)
- TV Weight: (Check manufacturer spec sheet)
- Accessories: (Consoles, soundbars, books — approx. 5-10 lbs)
- Total Static Load: Sum of 1, 2, and 3.
- Safety Margin (20%): Multiply Total Static Load by 1.2. This accounts for "dynamic load" (the force of someone accidentally leaning on or bumping the stand).
Decision Point: If your Total Load + Safety Margin exceeds the manufacturer’s rated capacity for your specific wall type, you must either reduce the weight or switch to a floor-based stand.
CPSC tip-over prevention materials highlight that even "stable" furniture can become a hazard if the anchoring method doesn't account for these dynamic forces.
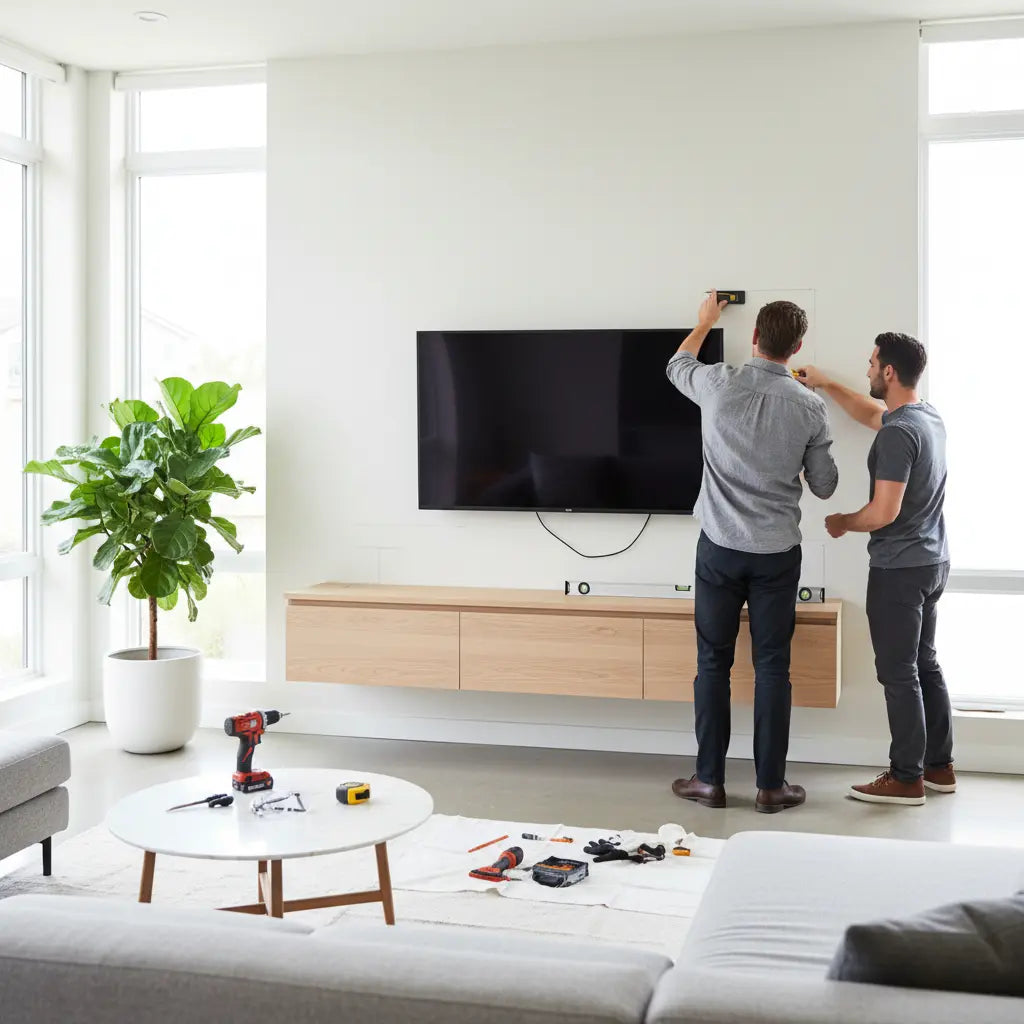
Step-by-Step Installation Process
- Clear and Protect: Clear the area and protect floors with a drop cloth.
- Locate Studs: Mark at least two studs across the desired span.
- Level the Bracket: Hold the mounting bracket level and mark screw locations directly into the center of the studs.
- Pre-Drill: Pre-drill pilot holes using a bit slightly smaller than your lag screws. This is critical to prevent the wood stud from splitting, which significantly reduces holding power.
- Secure: Drive the lag screws through the bracket and into the studs until flush. Do not over-tighten, as this can strip the wood fibers.
- Mount Console: Attach the floating console to the bracket.
- Load Gradually: Install the TV and other components one by one, checking for level after each addition.
Section Conclusion: A successful installation is a gradual process; check for "level" at every stage to prevent uneven stress on the hardware.
Common Mistakes That Lead to Failures
Many DIYers underestimate the "leverage" effect. A floating stand that sticks out 15 inches from the wall exerts much more pull-out force than a flat TV mount. Using incorrect screw lengths—such as 1.5-inch screws that only penetrate the stud by half an inch after passing through drywall—is a recipe for failure.
Consumer Reports testing on furniture anchors shows that the quality of the connection to the wall structure matters more than the "rated" strength of a single anchor.
How to Choose the Right Approach for Your Room
Consider these checkpoints before purchase:
- Wall Type Audit: Confirm wood versus metal framing. Metal studs require different hardware (toggles) and often have lower weight limits.
- Total Weight Calculation: Use the template above. Choose stud mounting for anything over 15-20 lbs.
- Stud Alignment: If your preferred position doesn't hit two studs, plan for a backing board installation.
- Rental Considerations: If you cannot drill into studs, a freestanding console is almost always the better choice.
- Post-Install Check: If you see any bowing in the drywall or a widening gap at the top, remove the weight immediately.
If you are uncertain about load calculations, our guide comparing floating TV stand vs. floor TV stand explores these trade-offs in more detail.
Important Safety Note: This article provides general guidance and is not a substitute for professional structural advice. Improper installation can cause serious injury. If you have concerns about your wall's integrity or home construction (such as plaster and lath or thin-gauge metal studs), consult a qualified contractor. Persistent instability after installation requires immediate attention from an expert.
Choosing and Installing Bestier Floating Solutions
For those seeking modern floating designs, Bestier offers several options with attention to clean lines and practical storage. Consider exploring the Bestier TV Stand collection to find models that suit your space and weight requirements.
Our wall-mounted vs. freestanding TV stands guide provides additional perspective on when floating styles deliver the most value. Proper planning and stud-based mounting remain the foundation for years of reliable, safe performance in your living room media center.