


Why Overhead Camera Mounts Matter for Unboxing and Craft Content
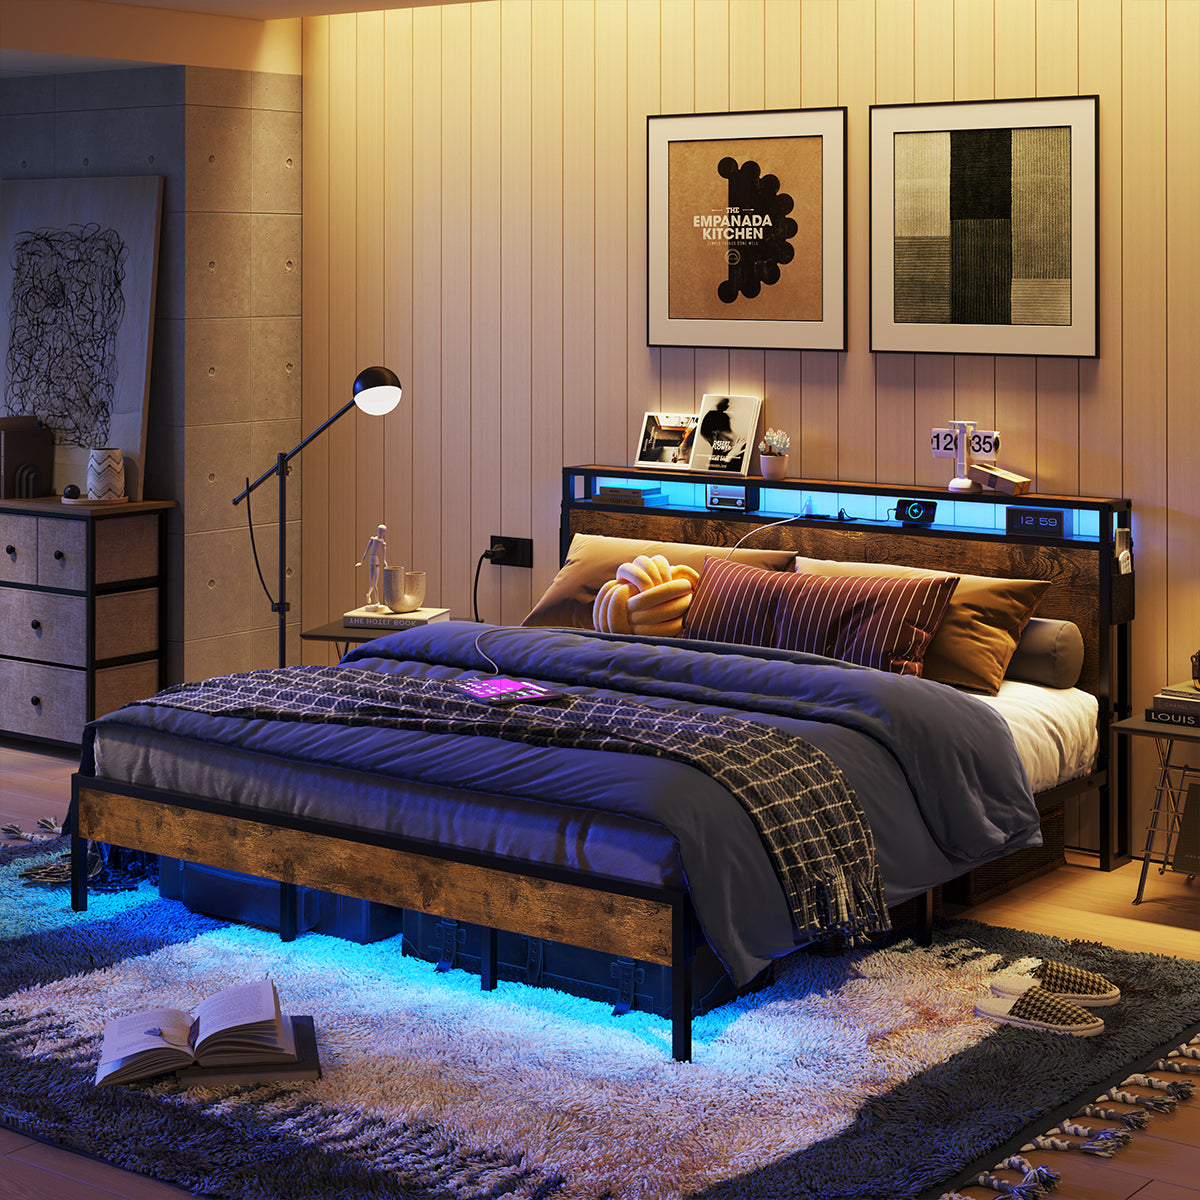
For stable overhead unboxing videos, the most effective setup is an L-shaped desk with a solid core (P2 board or solid wood) and a steel frame, with the camera mount positioned directly adjacent to a support leg to minimize torque-induced wobble.
Top-down shots allow viewers to see every detail of a product reveal or DIY process, making them the gold standard for YouTube unboxings and short-form tutorials. However, the success of these shots depends entirely on the desk beneath the rig. A wobbly surface amplifies even minor arm movements, turning crisp 4K footage into shaky video that requires tedious post-production stabilization or complete retakes.
When setting up, the mounting point must handle the "leverage weight" (torque) of the arm—which is often significantly higher than the actual weight of the camera—plus any vibration from you bumping the desk while working. Following general safety principles for overhead equipment, it is essential to use appropriate safety attachments and secure hardware rather than improvised supports. Always verify that your desk's structural capacity exceeds the combined weight and leverage of your camera, lens, and mounting arm.

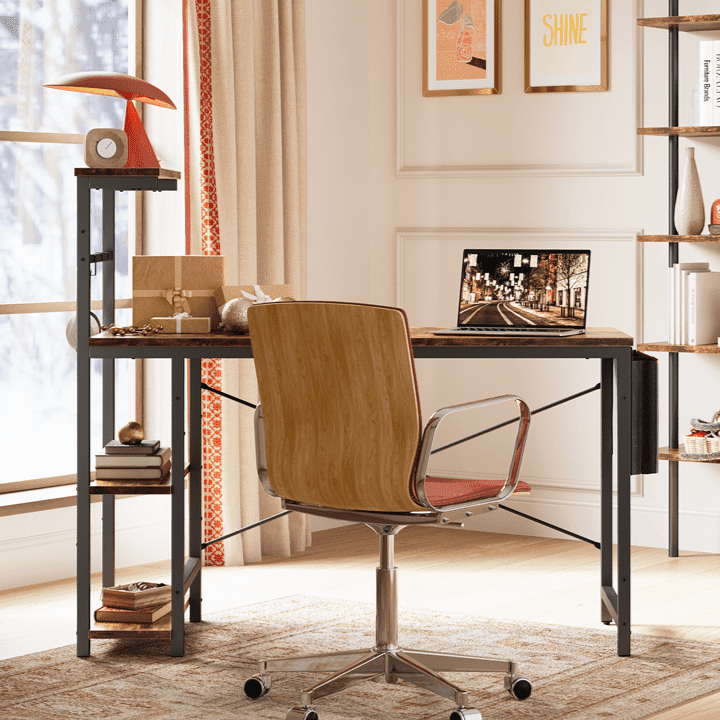
Choosing the Right L-Shaped Desk for Camera Stability
Not every L-shaped desk is built for the torque of a long-reach camera arm. When evaluating a desk, look beyond the surface area and focus on the construction of the "return" (the shorter side of the L) and the specific material density.
Material and Clamp Compatibility
- Solid vs. Hollow Core: Many budget desks use a honeycomb or hollow-core internal structure. These can crush under the pressure of a heavy-duty C-clamp. Look for desks made of high-density P2 board (typically rated for 50-70 lbs of static load) or solid wood, which offer the compressive strength needed for a secure "bite."
- Reinforcement Strategy: If you are using a hollow-core desk, a common pattern is to use a steel reinforcement plate or a small "sacrificial" block of hardwood (at least 0.5 inches thick) between the clamp and the underside of the desk to distribute the pressure across a larger surface area.
- Frame Support: A desk with a steel perimeter frame under the desktop provides a much more rigid mounting point than one where the legs simply screw into the wood. According to ANSI/BIFMA X5.5 standards for desk products, stability is significantly increased when the load is distributed through a continuous metal frame. Ensure the frame is recessed enough to allow the clamp to sit flush against the desktop.
Quantifying Stability: The Physics of the Overhead Rig
To avoid equipment failure, you must understand the difference between static weight and torque (moment of force). A camera that weighs 3 lbs feels much heavier to your desk when it is extended on a 30-inch arm.
The Rule of Thumb Formula:
Torque = Weight of Camera/Lens × Length of Arm
Example: A 2.5 lb mirrorless camera on a 2-foot (24-inch) extension arm creates 5 lb-ft of torque at the clamp. If the clamp has a small footprint, this force is concentrated on a tiny area of your desk edge, which can lead to material warping or "creeping" over time.
Recommended Mounting Accessories & Reinforcements
| Accessory Type | Best For | Load Capacity (Est.) | Note |
|---|---|---|---|
| Standard C-Clamp | Webcams, Smartphones | Up to 3 lbs | Requires at least 1.5" of throat depth. |
| Heavy-Duty Desk Mount | DSLRs, Mirrorless | 5–10 lbs | Look for dual-screw clamps for better grip. |
| Steel Reinforcement Plate | Hollow/Thin Desks | N/A (Protective) | Distributes pressure to prevent desktop crushing. |
| Wall-Mounted Boom | Heavy Cinema Rigs | 15+ lbs | Bypasses the desk entirely to eliminate vibration. |
Comparison Framework: Evaluating Overhead Setups
Note: The following scores and dimensions are illustrative examples intended to show how different desk features are weighted for creator workflows. These are not laboratory measurements; always prioritize the specific load ratings provided by manufacturers like Bestier.
Use this practical framework to evaluate L-shaped desks before purchase. Focus on the segment where the camera arm will attach:
- Mount Load Capacity: Check the desktop thickness at the exact point of installation. While many standard C-clamps accommodate a range of 0.6 to 2 inches, you must verify the "jaw opening" and "throat depth" of your specific mount against your desk's edge profile.
- Wobble Resistance: Prefer models with a reinforced corner junction. This is usually the sturdiest part of the desk and the ideal spot for a heavy DSLR rig.
- Cable Management: Look for built-in grommets. When a desk doubles as a filming station, having a dedicated path for HDMI and power cables prevents them from dangling into your shot.
- Reversibility: A reversible design allows you to move the "long side" of the desk to accommodate different room layouts or lighting angles.
Heuristic Fit for L-Shaped Desks in Overhead Camera Unboxing Setups
Illustrative comparison of desk options across stability, cable management, size suitability, and load support. Scores are heuristic, not measured values.
View chart data
| Series | Stability | Cable Management | Size Suitability | Load Support |
|---|---|---|---|---|
| 47-inch Small | 7.0 | 6.0 | 9.0 | 5.0 |
| 58-inch LED | 8.0 | 7.0 | 8.0 | 7.0 |
| 60-inch Standing | 6.0 | 5.0 | 7.0 | 9.0 |
| 62-inch Corner | 9.0 | 8.0 | 6.0 | 8.0 |
| 55-inch Compact | 8.0 | 9.0 | 7.0 | 6.0 |
Heuristic/illustrative scoring only, synthesized from the provided threshold_table, decision_snapshot, and writer_evidence on wobble resistance, secure mounting hardware, cable management, and small-space fit. No real measurements or official product stats are used.
A Closed-Loop Evaluation for Heavy Camera Rigs
To ensure your setup supports heavy rigs without wobbling, follow this three-step assessment process:
- Verify Hardware Specs: Check the manufacturer’s rated load for both the camera arm and the desk. Remember the torque calculation above; never mount a rig that exceeds 70% of the desk's rated edge-load capacity.
- Structural Inspection: Identify the "load path." Is the clamp sitting directly over a leg or a steel support beam? Avoid mounting to thin, unsupported overhangs.
- The 30-Second Stress Test: Record a test clip while performing your typical unboxing actions (cutting tape, moving boxes). Review the footage on a large monitor. If you see "micro-jitters"—tiny vibrations that occur when you touch the desk—you must either move the mounting point closer to a leg or add a secondary support (like a floor-standing C-stand) for the camera arm.
How to Mount an Overhead Camera Securely to an L-Shaped Desk
Secure mounting is about more than just tightening a screw. Based on common setup mistakes, here is a refined approach to installation:
- Identify the "Dead Zone": Avoid clamping your arm to the very edge of a cantilevered section (the part of the desk furthest from a leg). The best mounting point is directly above or adjacent to a leg.
- Check for Lip Clearance: Measure the distance from the edge of the desk to any under-desk support bars. Ensure the C-clamp has enough "throat depth" to bypass the bar and grip the flat surface of the desktop.
- Cable Exit Strategy: Route your cables behind the arm's pivot points. Use Velcro ties rather than plastic zip ties; this allows you to adjust the arm's height without straining the ports on your camera.
- Mark Your Spot: Once you find the "sweet spot" where vibration is minimized, mark the clamp position with a small piece of painter's tape for easy re-installation.

Optimizing Cable Management in Multi-Camera Creator Setups
In a multi-camera unboxing station, loose wires are more than an eyesore—they are a safety risk. A stray power cord can snag a light stand or trip the creator mid-take.
- Under-Desk Trays: Use a "J-channel" or mesh tray to hide power bricks. This keeps the weight off the camera arm and prevents cables from tugging on the camera body.
- Grommet Utilization: If your L-shaped desk has grommet holes, use one specifically for "clean" data lines (HDMI/USB) and another for "dirty" power lines to reduce electronic interference.
- Labeling: In a multi-device setup, label both ends of every cable. If your overhead feed cuts out, you don't want to be crawling under the desk tracing wires while your lights are getting hot.
Layout Strategies for Small Spaces and Hybrid Workflows
For creators whose desk must serve as both an office and a studio, the L-shape offers a "zoning" advantage.
- The Filming Zone: Dedicate the corner and one side of the L to the camera rig and lighting. This allows you to keep the overhead arm permanently mounted but swung out of the way when not in use.
- The Editing Zone: Use the other side of the L for your monitors and peripherals. This separation ensures that your keyboard and mouse don't clutter the background of your unboxing videos.
- Modular Accessories: Consider adding a monitor arm. By lifting your screens off the desk, you reclaim the surface area needed for large product unboxings.
Scenario-Based Recommendations: When to Choose or Skip an L-Shaped Desk
Choose an L-Shaped Desk if:
- You work in a corner and need to maximize floor space.
- You use a lightweight mirrorless camera, webcam, or smartphone rig.
- You need a "hybrid" space for both filming and computer work.
Consider a Straight Desk or Dedicated Stand if:
- You use a heavy cinema camera (e.g., Blackmagic URSA or RED) that requires a high-torque overhead jib.
- You frequently need to move your filming location around the room.
- You require a desk depth of more than 30 inches for very large products.
Quick Buying Checklist
- Thickness: Is the desktop thickness compatible with your clamp's jaw range (typically 0.6"–2")?
- Stability: Does the frame include a V-brace, wide T-legs, or a full steel perimeter?
- Surface: Is the finish matte? (Glossy desks create distracting reflections in overhead shots).
- Routing: Does it include at least two cable grommets for separating power and data?
- Clearance: Is there enough room to swing the camera arm 180 degrees without hitting walls?
Important Safety and Comfort Notes
This guide provides setup advice for creator desks and overhead mounting based on common industry practices and furniture engineering heuristics. It does not constitute professional structural engineering or medical advice. Poor desk stability can lead to gear damage or injury. Always verify the weight capacity of your specific desk model and never exceed the intended load of your mounting hardware. For heavy rigs, consider using a safety cable to tether the camera to a secondary secure point.
A stable, well-organized L-shaped desk is the foundation of a professional content studio. By prioritizing structural integrity and cable routing over aesthetics alone, you can produce high-quality overhead content with a much smoother workflow.
For more ideas on creator studio layouts, explore our Creator Setup Blueprints: Modular Furniture for YouTube & Twitch. If cable organization is a priority, review these Pro Cable Management Tricks for a Clean Gaming Setup. To find a model that fits your specific space, shop the full range of the Bestier L Shaped Desk collection.