

Why a Compact Creator Desk Matters in Small Spaces
Most new and mid-level creators start in apartments where every square foot counts. A dedicated creator desk with integrated power outlets, monitor stands or arm compatibility, and cable routing helps eliminate clutter that looks unprofessional on camera while reducing trip hazards and electrical risks. As official ergonomic guidance from Kansas State University explains, workstation ergonomics matter when placing monitors and input devices to reduce strain and keep frequently used items within easy reach.
Similarly, University of Rochester ergonomics resources emphasize that proper screen, keyboard, and mouse positioning should fit the user rather than force awkward posture. In a small apartment, this means choosing a desk depth and height that allows for sufficient usable surface—typically 20–24 inches in front of the primary monitor is a recommended starting point for comfortable focal distance. However, you should verify this by placing your monitor and keyboard on a temporary surface to confirm your preferred line of sight before purchasing.
Internal power and USB ports on many budget desks eliminate the need for multiple visible power strips, contributing to a cleaner look. However, cable management remains partly a safety issue: as Berkeley Lab safety guidance notes, securing cords reduces clutter, trip risk, and accidental disconnections.
Choosing the Right Desk Size and Type for Your Apartment
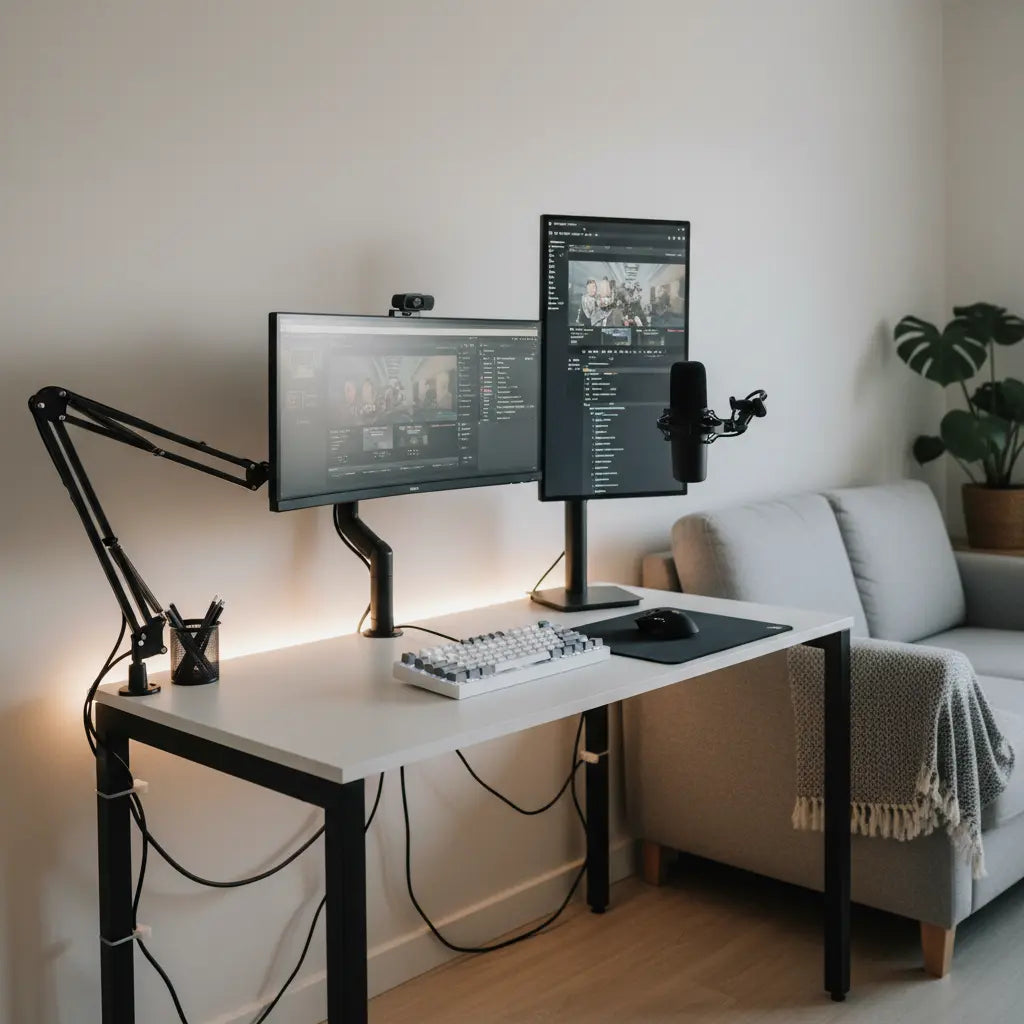
The single most important decision is matching desk dimensions to your room footprint and gear load. A 42-inch straight or small L-shaped desk often works best in rooms under 8×8 feet, while 48–52 inch models provide breathing room for dual monitors and a microphone arm in slightly larger corners.
Larger 60-inch or reversible L-shaped desks deliver more surface area and storage but demand careful measurement of wall clearance and corner stability. Always verify the desk’s stated weight capacity—typically 100–200 lbs for budget models—and add the combined load of your specific gear. A typical dual-monitor setup (10–20 lbs each), a microphone arm (5–10 lbs with mic), camera, and lights can quickly approach 50 lbs of "static" load. Before finalizing your setup, verify the desk’s depth, stability, and load limits against your exact equipment list.
Monitor arms or risers can free up surface space in a compact workstation, but the mounting choice has to match the desk’s construction and clearance, per Berkeley Lab ergonomics resources.
Illustrative Comparison: Desk Size vs. Apartment Constraints
Note: The following ratings are relative editorial models intended for planning purposes. They are not measured engineering data. Actual fit and stability must be verified against your specific room layout and the manufacturer's weight ratings.
Desk Size vs Small Apartment Studio Fit
Modeled comparison for typical setups in rooms under 60 sq ft, using standard desk sizes and a typical creator load of 30–50 lbs.
View chart data
| Category | Clearance fit score | Overload risk score |
|---|---|---|
| 42 in straight | 2.0 | 2.0 |
| 48 in straight | 3.0 | 2.0 |
| 52 in straight | 4.0 | 3.0 |
| 60 in straight | 5.0 | 4.0 |
| 60 in L-shaped | 5.0 | 5.0 |
Table Key:
- Relative Fit Rating: Indicates ease of placement in a standard 60 sq. ft. corner without obstructing walkways.
- Stability Risk Level: Estimates the demand placed on the desk frame when loaded with ~50 lbs of creator gear.

Scenario Matrix: When the Best Desk Choice Flips
The optimal desk type changes based on room size, primary content activity, monitor count, and budget. The following editorial scenario matrix summarizes common "flip points" where one style becomes preferable over another. These recommendations serve as a heuristic based on typical apartment constraints.
| Scenario | Best Choice | Why It Flips | Key Risk to Verify |
|---|---|---|---|
| <8×8 ft, streaming/podcasting, 1 monitor, <$300 | Straight desk | L-shape may crowd the only usable corner and limit chair movement | Load limits for mic arm; ensure 30" of "pull-back" space for your chair |
| <8×8 ft, editing, 1-2 monitors, $300–500 | Straight desk + monitor arm | Arm frees surface space; L-shape often wastes footprint in ultra-tight rooms | Clamp depth vs. desk thickness; ensure the edge can support the arm's torque |
| 8–12 ft, streaming/podcasting, 1-2 monitors, $300–500 | L-shaped (if stable) | Separate zones improve workflow for gear and notes/scripts | Cable reach across both wings; proximity to wall outlets |
| 8–12 ft, editing, 1-2 monitors, <$300 | Straight desk | Often leaves more budget for a high-quality ergonomic chair or monitor arm | Stability once heavy monitors are mounted at the rear edge |
| 8–12 ft, streaming/podcasting, 1 monitor, <$300 | Straight desk with riser | Avoids unused wing; riser solves height without increasing footprint | Riser stability; ensure the monitor top remains at or slightly below eye level |
Essential Accessories and Cable Management for a Professional Look
Beyond the desk itself, a few targeted additions complete the studio-in-a-box:
- Monitor arm or riser: Reclaims desktop real estate and allows precise ergonomic height. Choose clamp-on arms only if your desk edge is 1–2 inches thick and made of solid material or reinforced particle board.
- Microphone boom arm: Mounts to the desk edge or a separate stand; route its cable alongside monitor cables for a tidy appearance.
- Integrated power desk or under-desk power strip: Models with built-in AC outlets, USB-A, and USB-C reduce visible cords. Rated capacity is usually 1500W—avoid overloading with high-draw devices like space heaters or high-end laser printers.
- No-drill cable management: Use adhesive clips, under-desk trays, and Velcro ties. As our No-Drill Cable Management guide explains, these solutions keep wires hidden and ventilated without damaging rental walls.
Our Mastering Desk Wire Routing guide offers additional strategies using grommets and trays that work especially well with creator desks.
Budget Breakdown and Buying Checklist
A functional pro-level creator setup can be built for under $500 by allocating funds strategically. Based on common editorial experience, the following percentages represent a balanced starting point:
- Desk with power and LED: 40–50% of budget
- Monitor arm/riser and Mic arm: 20–25% of budget
- Basic lighting and webcam: 15–20% of budget
- Cable management and storage: 10% of budget
Pre-Purchase Execution Checklist:
- Measure Twice: Subtract at least 30 inches from your wall length to allow for chair movement and "pull-back."
- Audit Your Gear: List every item and its weight; ensure the total is at least 20% below the desk's maximum rated capacity for a safety margin.
- Map Your Outlets: Desks with integrated power are most effective when located within 6 feet of a wall outlet to avoid daisy-chaining extension cords.
- Check Clamp Compatibility: Many budget desks have a 1-inch thick edge. Ensure your monitor arm or mic boom clamp is compatible with this thickness.
- Prioritize Versatility: Look for reversible designs that allow you to move the "long" side of an L-desk if you move to a different apartment.
Our detailed Building a Pro Creator Desk Setup for Under $500 provides specific allocation examples that align with this checklist.
Popular options include the Bestier 42" Reversible L-Shaped Gaming Desk with Power Outlets, the 48 Inch LED L-Shaped Gaming Desk with Monitor Stand, and larger 52 Inch L-Shaped Gaming Desk with USB Ports.
Common Myths and Hidden Trade-offs
Many creators assume any “gaming desk” will automatically support professional streaming gear. In reality, load capacity and edge thickness for clamping vary widely. Another myth is that more surface area always equals a better workflow; in apartments under 8×8 feet, excess width can block movement and make the space feel cramped on camera.
Hidden trade-offs include the gradual loosening of clamp mounts on softer desk edges over time and potential heat buildup if power bricks are tightly packed into cable trays. Budget desks with LED lighting and power outlets are convenient, yet they may limit future monitor-arm upgrades if the frame design blocks certain clamp positions.
Our Compact Creator Desk Setups guide and Ultimate Guide to Compact Battlestations address these real-world frictions with renter-friendly solutions.
Health and Setup Disclaimer
This article discusses ergonomic layout, cable safety, and comfort-oriented setup advice for creator desks in small apartments. It does not constitute medical advice, diagnosis, or treatment. Workstation adjustments may reduce perceived strain for some users but results vary by individual posture, existing conditions, and overall room ergonomics. If you experience persistent discomfort, eye strain, neck pain, or other symptoms, consult a qualified healthcare or ergonomics professional. Always verify product weight limits, electrical ratings, and stability before use, especially with children or in shared living spaces.
Final Recommendations and Next Steps
A budget-friendly studio-in-a-box succeeds when the desk size, power features, and mounting options align with your actual room dimensions and content workflow. Start with a straight or compact L-shaped desk in the 42–52 inch range that includes integrated power and monitor-stand compatibility.
Review the scenario matrix and checklist against your space, then compare specific models from the Bestier LED Gaming Desk collection or Game Room Furniture. Many options also appear in the current Sale collection, helping stretch your budget further.
References
- Ergonomics - Kansas State University
- Ergonomics Program - University of Rochester
- Sit Stand Desk Wire Management - Berkeley Lab Safety
- Ergonomics - USDA
- Monitor Risers & Arms - Berkeley Lab Commons
