

Summary
Building a professional home studio in 2026 requires a strategic balance between high-performance technical integration and a personalized aesthetic that fosters long-term creativity. This guide outlines a modular approach to studio design, prioritizing ergonomic health, acoustic precision, and efficient power management to support modern multi-cam workflows and high-wattage streaming rigs.
Key Takeaways
- Modular Foundation: Prioritize furniture that allows for flexible equipment mounting and easy reconfiguration as your production needs evolve.
- Acoustic Integrity: Implement targeted sound treatment beyond basic foam, focusing on low-frequency absorption in small room environments.
- Technical Safety: Ensure all studio furniture meets rigorous engineered wood safety standards (CARB & TSCA) to maintain indoor air quality.
- Power & Cable Logic: Design for high-wattage capacity (1500W+ estimated for high-end rigs) with integrated routing to prevent interference.
- Ergonomic Performance: Align desk height and monitor placement with OSHA-recommended standards to boost productivity and physical longevity.
Designing a High-Performance Studio Layout
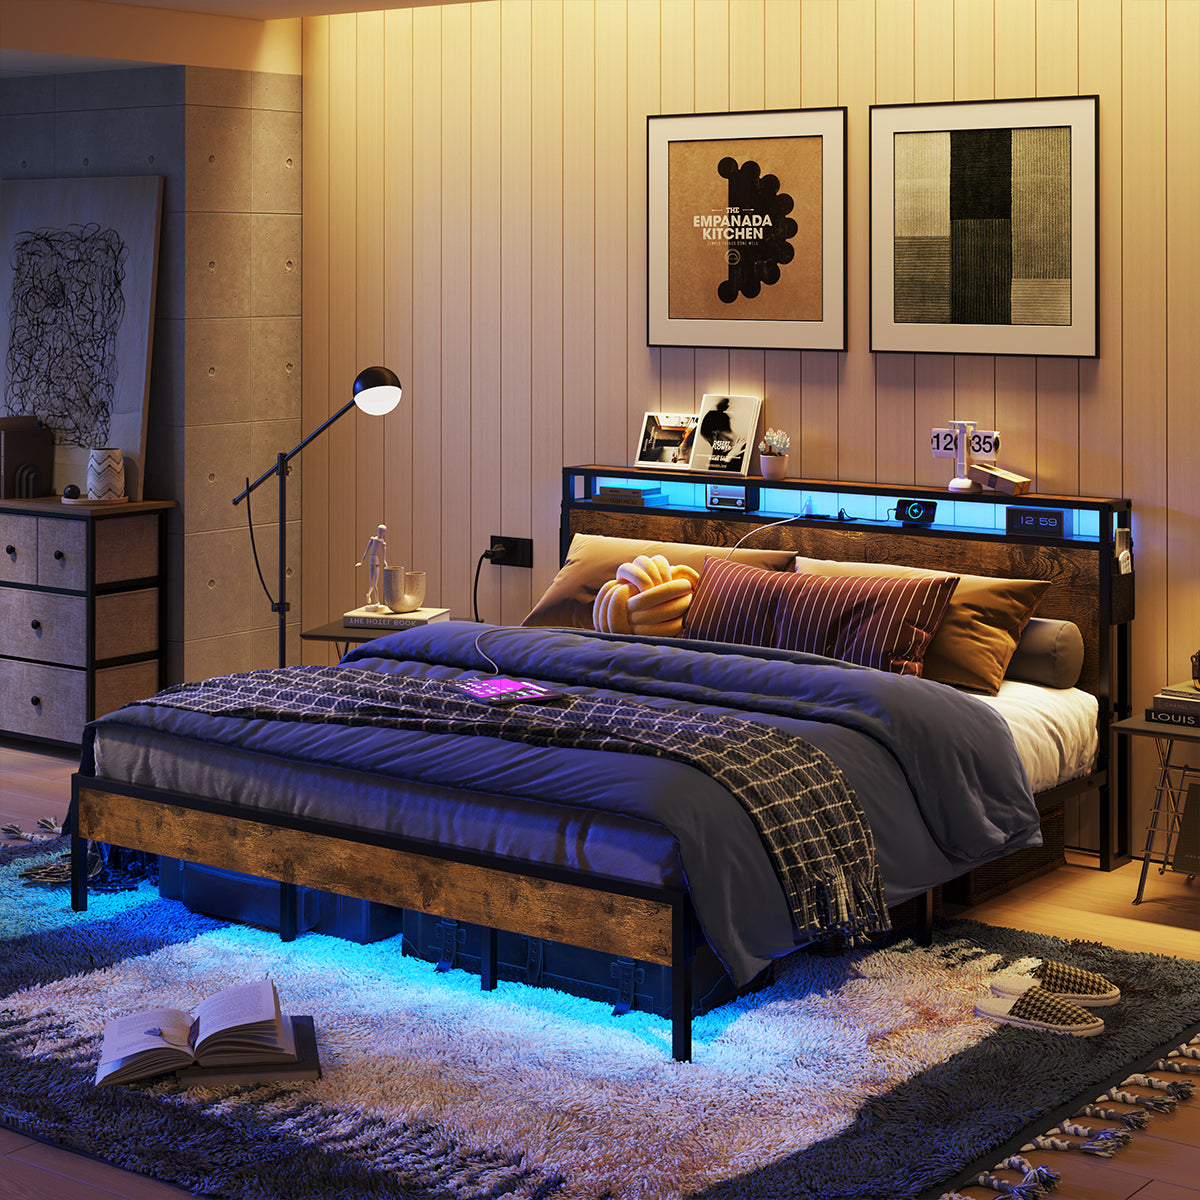
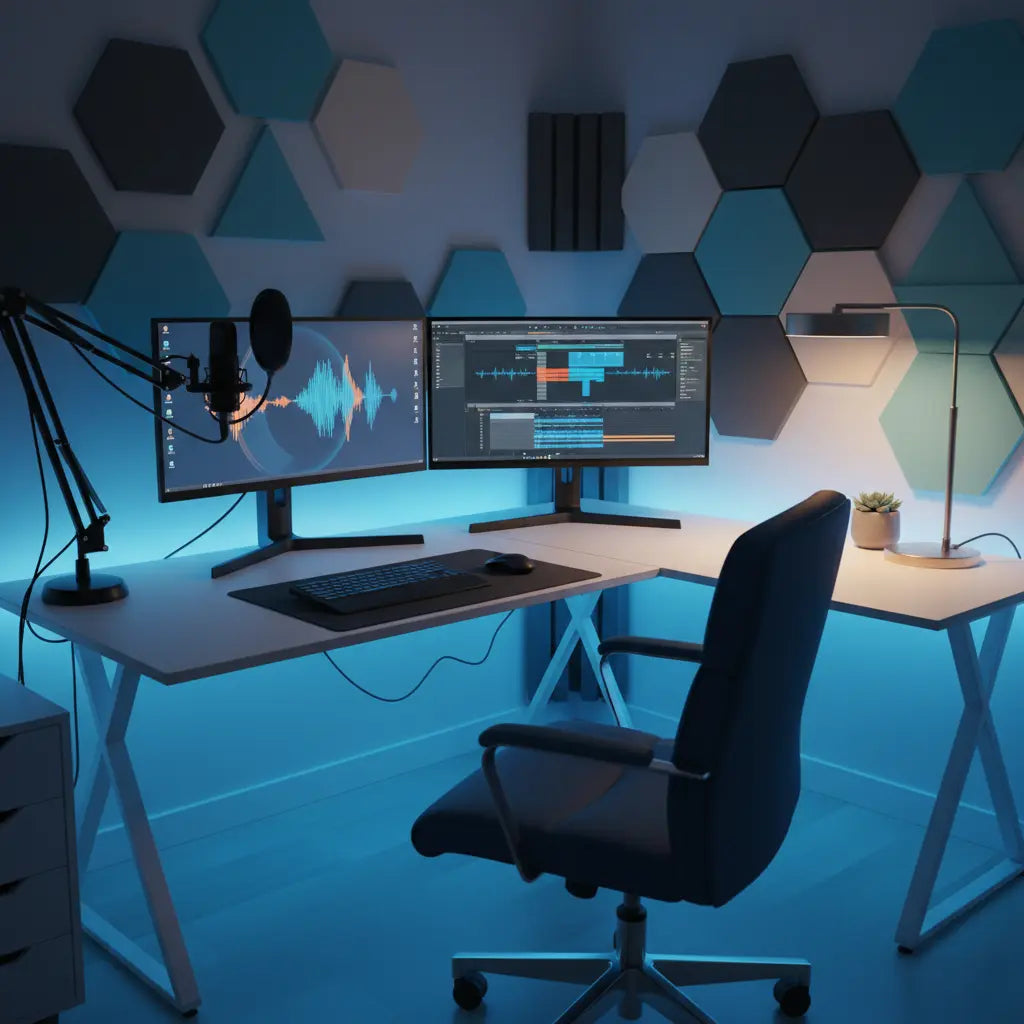
The transition from a hobbyist desk to a professional creator studio begins with spatial logic. In 2026, the "dopamine-desk" aesthetic—vibrant, personalized, and visually stimulating—must coexist with the rigid requirements of broadcast-quality production.
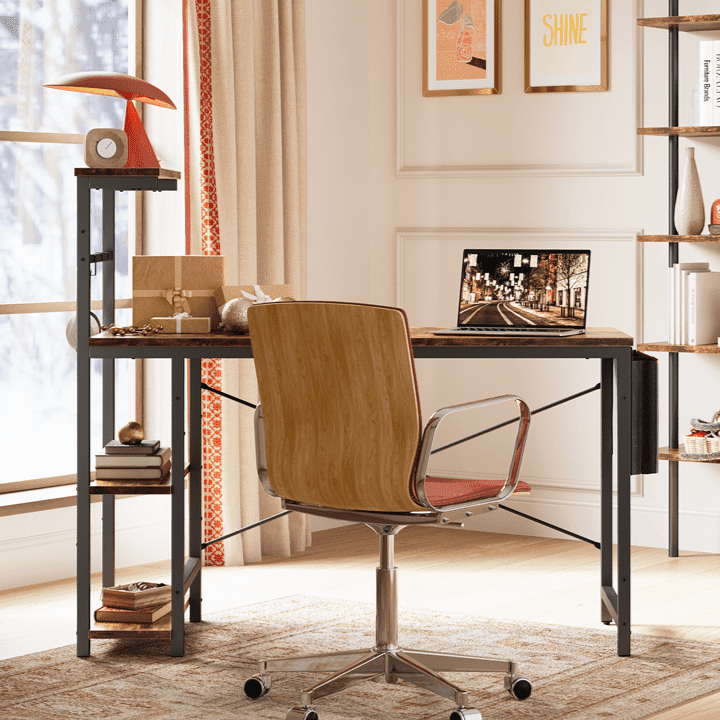
For most creators, an L-shaped configuration offers the most efficient use of space. When planning your L-shaped gaming desk configurations, consider the "Golden Triangle": the relationship between your primary monitor, audio interface, and lighting source.
Quick Spatial Checklist
- Ideal Room Size: Aim for at least 120 sq. ft. (approx. 11m²). This is a heuristic based on providing enough clearance for a 5-foot "listening triangle" and space for light stands without obstructing movement.
- Ceiling Height: Ideally 8ft or higher to allow for "cloud" acoustic panels and overhead key lights.
- Workflow Zones: Separate your "dirty" work (unboxing, soldering, gear repair) from your "clean" work (recording, editing).
Logic Summary: This layout assumes a single-operator workflow. The L-shape is recommended because it maximizes reachable surface area without requiring a large room footprint.
Technical Integration and Power Management
Modern creator rigs often exceed 1500W in total power draw. This figure is a typical estimate for a setup including a high-end PC (1000W PSU), multi-point LED studio lighting (200W-300W), and active studio monitors/peripherals (200W).
Safety Warning: Before connecting your gear, calculate your total load. If your estimated wattage exceeds 80% of your circuit's rated capacity (e.g., 1,440W on a standard 15A/120V US circuit), you risk tripping breakers or electrical fires. Consult a licensed electrician if you need to install dedicated circuits or high-capacity power conditioners.
Implementing professional cable management techniques is a technical necessity. Separating power cables from signal cables (XLR, USB, HDMI) reduces electromagnetic interference (EMI) that causes "hum" in audio recordings.

Acoustic Treatment and Measurement
Small rooms (under 150 sq. ft.) suffer from "standing waves" and low-frequency buildup. While many rely on thin foam, these are often ineffective for frequencies below 500Hz.
How to Measure Your Room
To move beyond guesswork, follow these steps:
- Download REW (Room EQ Wizard): A free, industry-standard tool for measuring room acoustics.
- Use a Measurement Mic: Use a calibrated microphone (like the UMIK-1) at your primary listening position.
- Identify Peaks: Look for "nulls" and "peaks" in the frequency response graph to determine where to place bass traps.
| Treatment Type | Purpose | Placement | Recommended NRC* |
|---|---|---|---|
| Bass Traps | Absorb low-frequency energy | Room corners (floor to ceiling) | 0.85+ |
| Acoustic Panels | Reduce mid-to-high reflections | First reflection points (side walls) | 0.70 - 0.80 |
| Diffusers | Scatter sound to prevent "dead" air | Back wall behind the creator | N/A |
| Cloud Panels | Prevent ceiling-to-floor flutter | Directly above the desk | 0.75+ |
*NRC (Noise Reduction Coefficient) ratings are based on ASTM C423 standards. A rating of 0.85 means the material absorbs 85% of sound hitting it.
Ergonomics and Health in the Creator Workspace
Long hours of editing and streaming can lead to repetitive strain injuries (RSI). Following ergonomic principles for long gaming sessions is essential.
Your desk height should allow your elbows to rest at a 90-degree angle. Monitors should be positioned so the top third of the screen is at eye level. For those looking for inspiration on a complete build, exploring an ultimate gaming battlestation design can provide a roadmap for integrating these ergonomic needs.

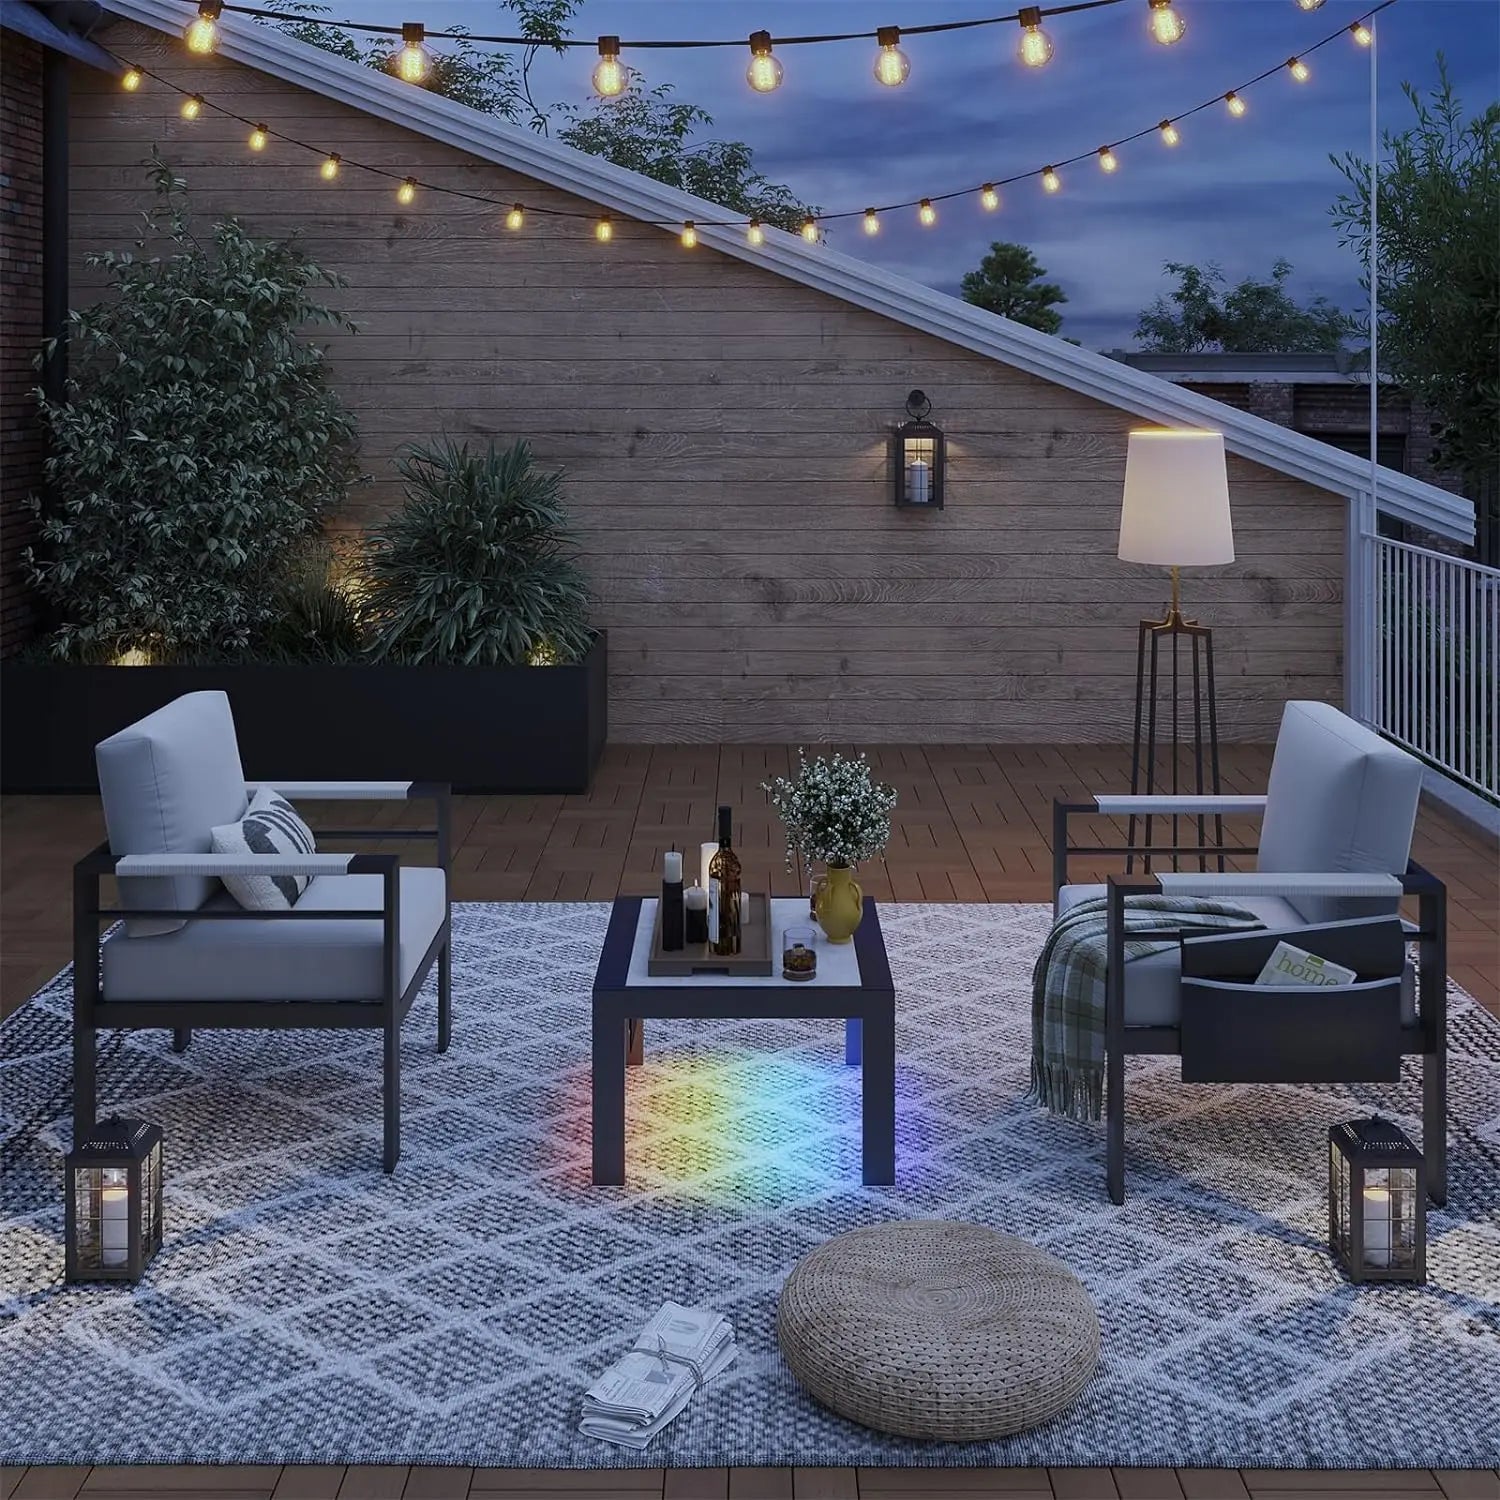
Aesthetic Lighting and Visual Identity
High Color Rendering Index (CRI) lighting (90+) is required for accurate skin tones on camera. While RGB accents define your "vibe," they should not be your primary light source for the subject.
When selecting furniture, consider matte finishes to reduce glare. Browsing a curated LED gaming desk collection can help you find pieces with integrated channels, keeping your visual identity clean and professional.
Safety Standards and Material Quality
A professional studio is a high-occupancy space. As detailed in our authoritative guide on engineered wood safety, products should meet CARB Phase 2 and EPA TSCA Title VI standards. These regulations limit formaldehyde emissions, preventing respiratory irritation during long sessions in enclosed spaces.
FAQ
What is the ideal room size for a professional home studio? A room of at least 120 square feet is recommended. This size allows for the "38% rule" (placing your listening position at 38% of the room's length) which helps minimize the impact of standing waves.
How do I calculate my studio's power load? Check the "Input" or "Max Wattage" label on the back of every device. Add these numbers together. If the total is near 1500W, ensure you are using a high-quality power conditioner and consider a dedicated 20-amp circuit if you experience flickering lights or frequent breaker trips.
Do I really need professional acoustic panels, or is foam enough? Foam is generally insufficient for professional audio. For a professional sound, you need 2-4 inch thick panels made of mineral wool or high-density fiberglass. These materials have the density required to absorb lower frequencies that foam simply cannot reach.
What is the difference between RGB and high-CRI lighting? RGB lighting is for background aesthetics. High-CRI (Color Rendering Index) lighting (90-95+) is for the subject (you). Low CRI lights make skin tones look unnatural on camera, regardless of your camera's quality.
References
Government / Standards / Regulators
- EPA: Formaldehyde Emission Standards for Composite Wood Products
- OSHA: Computer Workstations eTool - Ergonomics
Industry Associations / Research Institutes
- SMPTE: Standards for Motion Imaging and Audio
- Acoustical Society of America: Room Acoustics Standards
Platform Official Docs & Policies
Safety & Compliance Disclaimer: The technical suggestions in this guide, particularly regarding electrical loads and structural acoustic treatments, are for informational purposes only. Always consult with a licensed electrician for high-wattage power configurations and follow local building codes for any permanent room modifications. Bestier is not liable for hardware damage or safety issues resulting from improper DIY installations.