

Achieving a Clean Aesthetic: The Basics of Cable Management
Cable clutter kills the clean aesthetic you worked hard to build on your gaming desk. The right cable management approach depends on your desk material, room size, and how often you rearrange gear. By combining under-desk trays, clips, sleeves, and strategic routing, you can hide wires while keeping everything accessible and safe.
Quick Selection Guide: Find Your Method
Before diving into the details, use these formulas to identify the best starting point for your setup:
- By Desk Material: Steel Frame → Magnetic Clips; Wood → Screw-in Trays; Glass → Edge Clamps.
- By Living Situation: Renter → No-Drill/Adhesive; Homeowner → Grommets/Drilled Trays.
- By Maintenance Frequency: Frequent Swapper → Cable Sleeves/Velcro; Set-and-Forget → Rigid Channels.
- By Space Constraint: Small Room → Vertical Leg Routing; Large Setup → Under-Desk Backbone Trays.
Related Setup Guides

This complete masterclass walks through practical methods for different desk types, from steel frames that accept magnetic solutions to glass or wood surfaces that need gentler approaches. You'll learn how to choose accessories that match your setup, avoid common mistakes that cause heat buildup or cable strain, and create a professional-looking station whether you game, work from home, or stream.
Why Cable Management Matters for Gaming and Home Office Desks
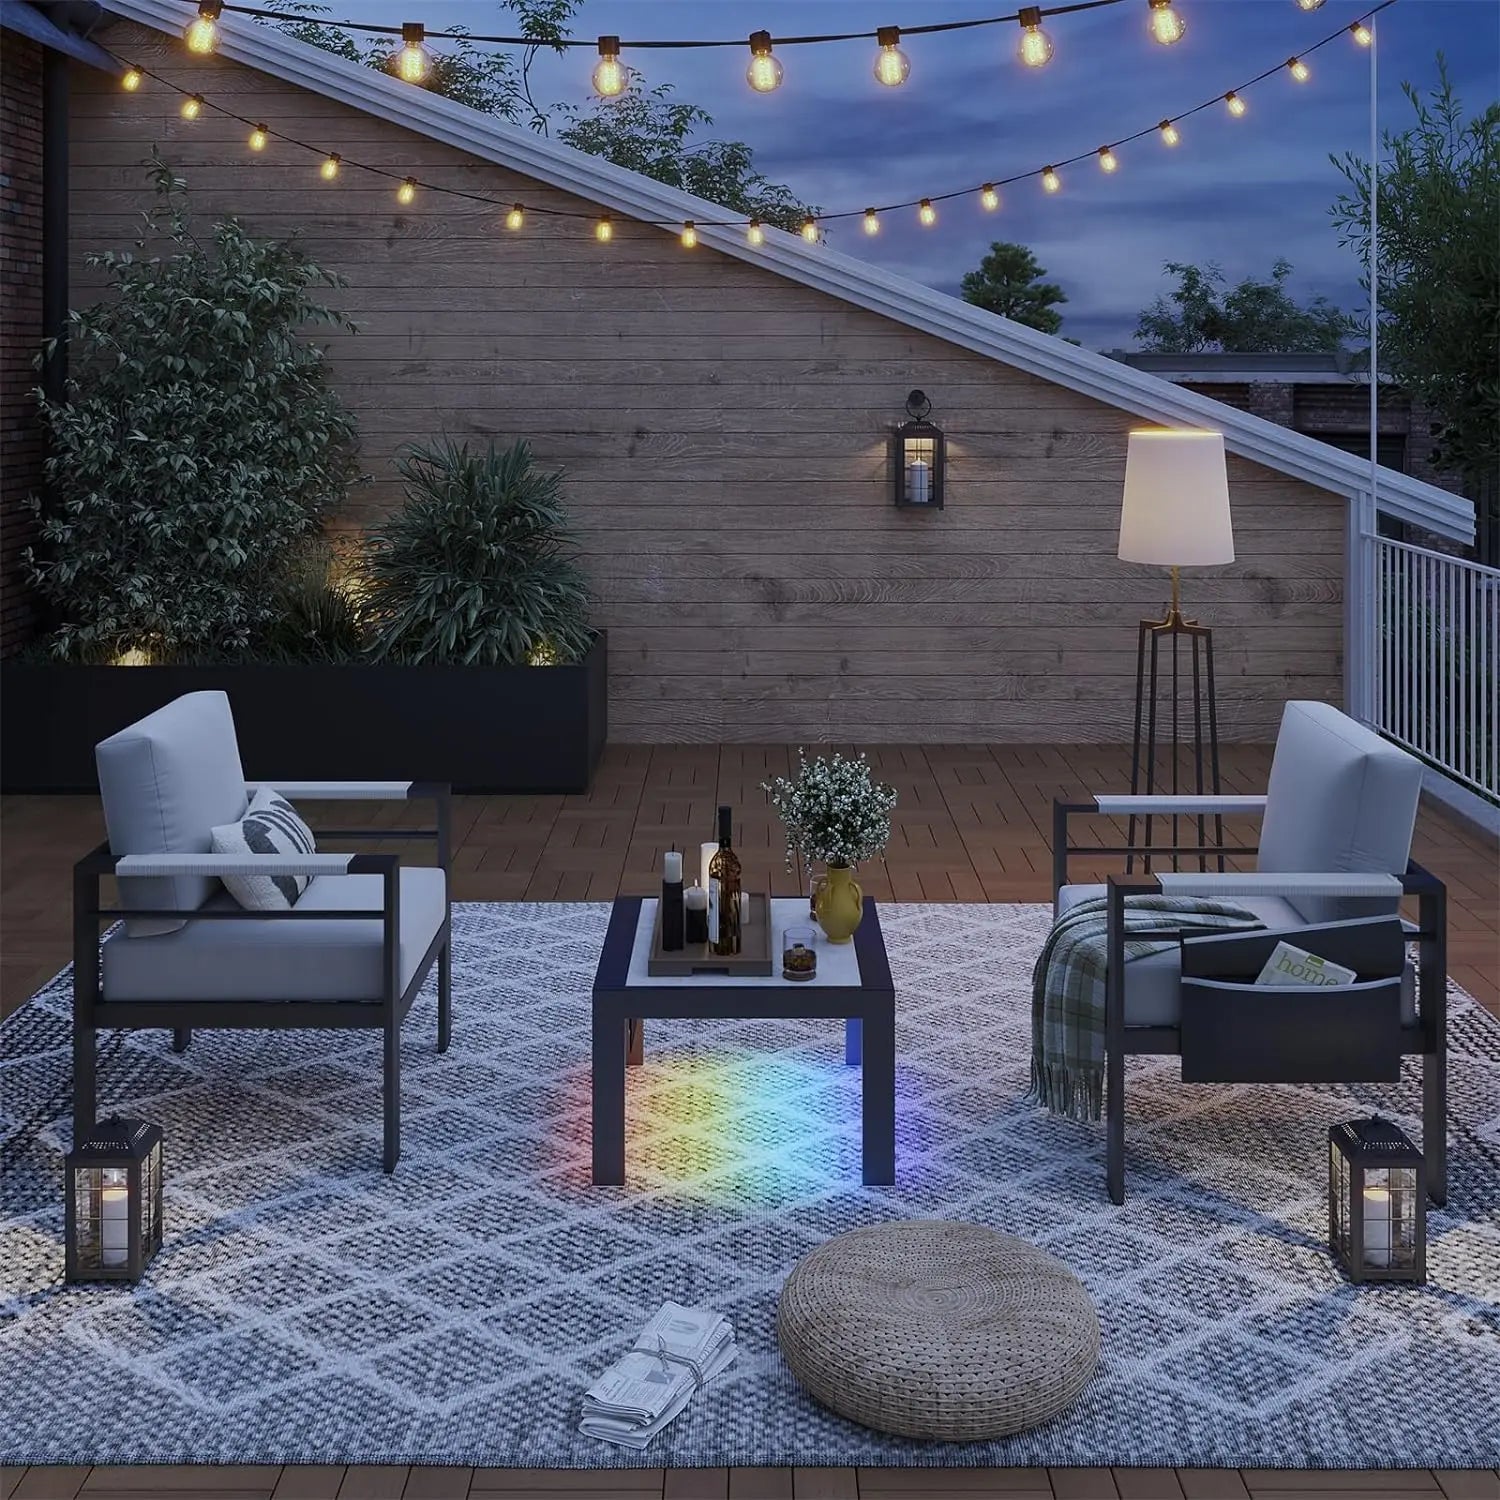
Visible cables turn an otherwise sleek setup into a messy eyesore, especially under RGB lighting that highlights every tangle. Beyond looks, poor management leads to dust collection, tripped cords, and harder maintenance when swapping peripherals or upgrading components. In small rooms, clutter makes the space feel even smaller and less functional.
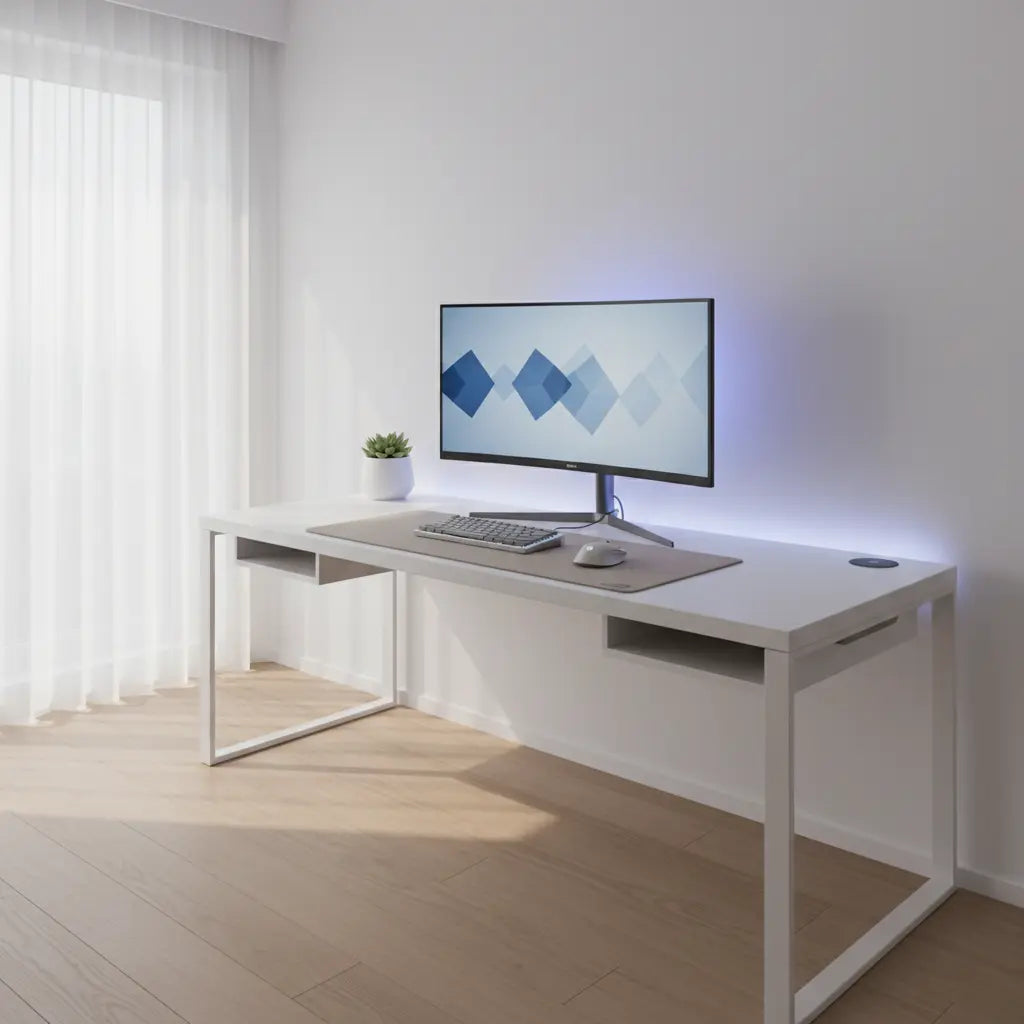
Effective desk cable management improves airflow around power bricks, reduces wear on connectors from repeated tugging, and creates a calmer environment for focus or video calls. Many modern gaming desks include built-in features like monitor shelves, cable trays, or power outlets precisely to simplify this process.
Understanding Your Desk and Space Constraints First
Before buying any clips, trays, or sleeves, assess your desk material, edge design, and room layout. Steel frame desks respond well to magnetic solutions, while wood accepts screws or strong adhesive. Glass tops often require clamp-style or freestanding options to avoid damage or poor adhesion.

Consider how permanent your setup can be. Renters benefit from no-drill methods that leave no marks, whereas long-term owners might prefer drilled trays for a cleaner finish. In small rooms, prioritize vertical or under-desk routing that doesn't eat floor space.
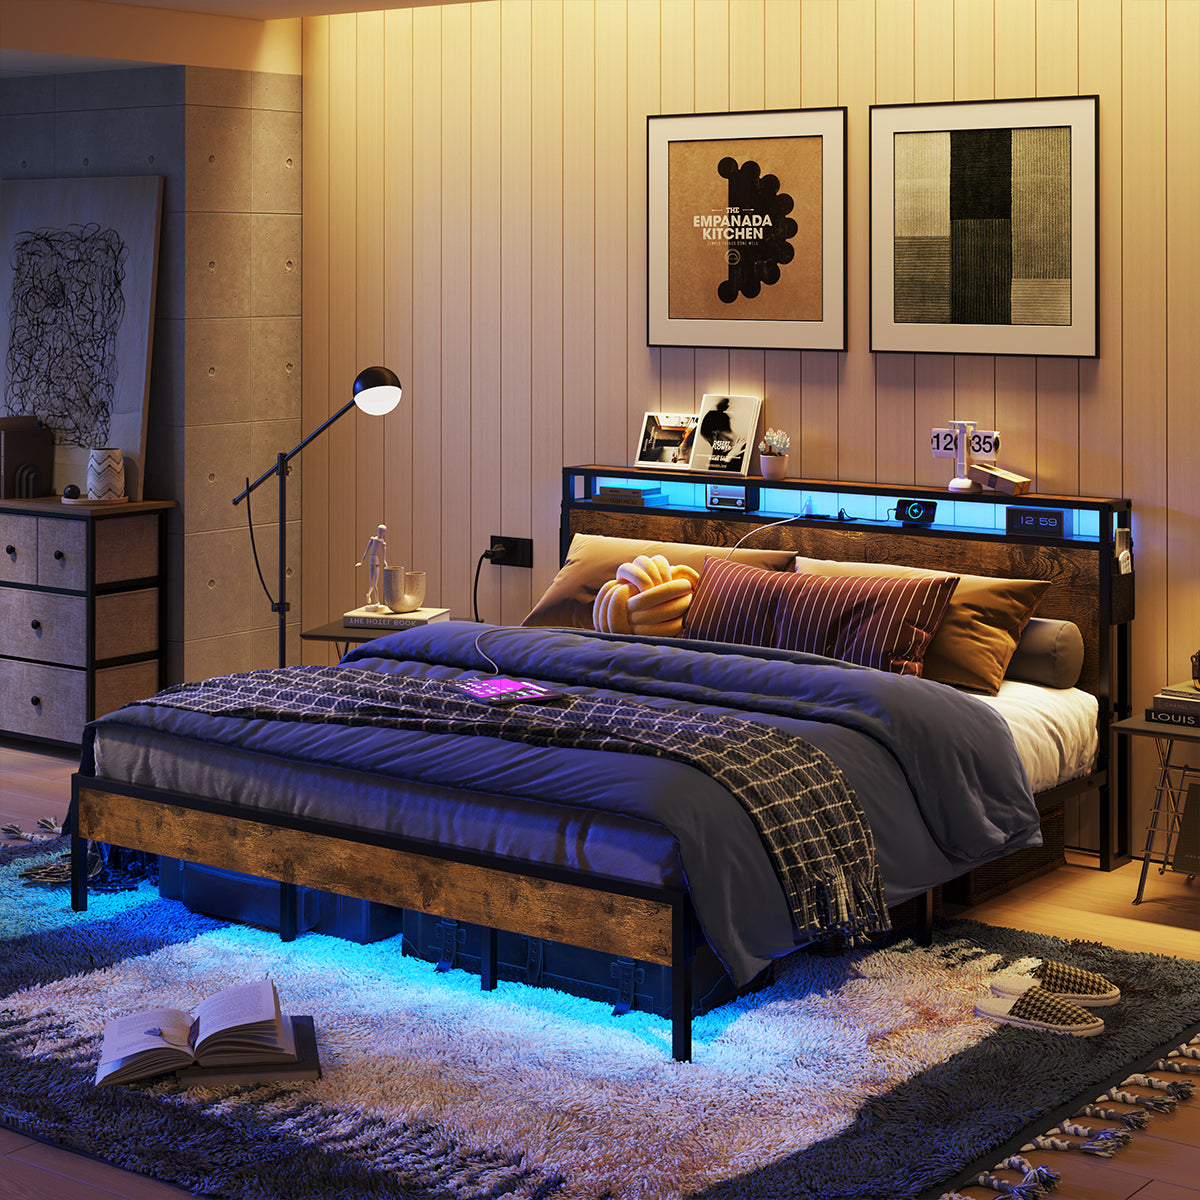
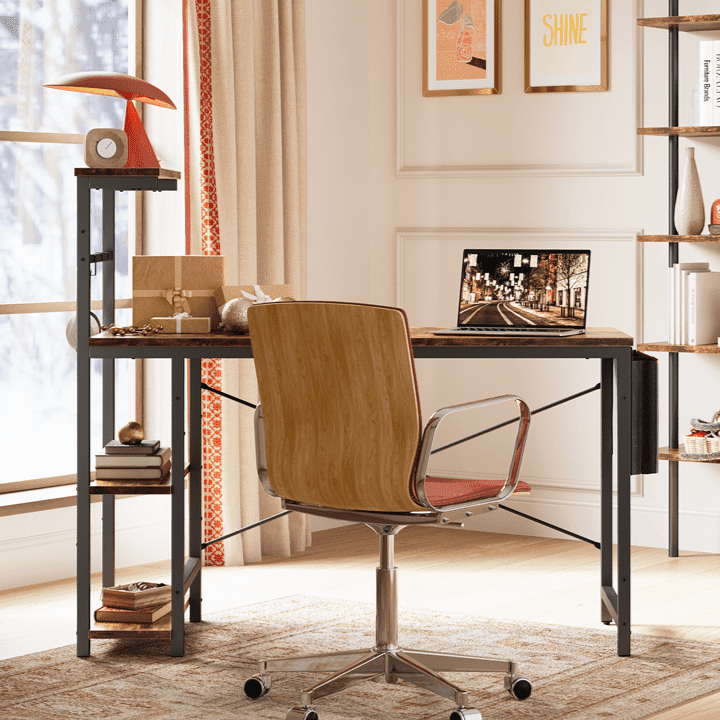
For desks with monitor shelves and cable trays, use the shelf as a backbone for main power and monitor cables while keeping peripheral cords easily reachable. L-shaped designs benefit from zone-based routing: hide the heavy PC and monitor wiring on one side while managing keyboard and charging cables on the other.
Comparison Framework: Choosing the Right Method
The most useful way to evaluate options is constraint-first rather than feature-first. Start with your desk material and installation flexibility, then factor in maintenance needs and room size.
The chart below illustrates relative suitability across common scenarios using heuristic scores.
Note on Data: These scores are illustrative heuristics based on common user setup experiences and product compatibility; they are not laboratory test results. Always follow the specific installation instructions provided by your cable management accessory manufacturer.
Illustrative Cable Management Suitability by Desk Scenario
Heuristic 1-10 suitability scores for common gaming desk cable-management approaches across desk and installation scenarios. Not measured data.
View chart data
| Category | Adhesive clips | Clamp tray | Drill-mounted tray | Cable sleeve |
|---|---|---|---|---|
| Steel desk | 8.0 | 6.0 | 5.0 | 7.0 |
| Glass desk | 6.0 | 4.0 | 3.0 | 5.0 |
| Wood desk | 7.0 | 7.0 | 9.0 | 6.0 |
| No-drill install | 9.0 | 5.0 | 2.0 | 8.0 |
| Permanent install | 6.0 | 8.0 | 10.0 | 5.0 |
| Small room | 8.0 | 4.0 | 3.0 | 7.0 |
| L-shaped + shelf | 7.0 | 7.0 | 8.0 | 6.0 |
Illustrative heuristic scores derived from the scenario_matrix context only (steel/glass/wood, no-drill vs permanent, small room, L-shaped desk with monitor shelf) and dont_buy_if warnings about heat, strain, and magnets. Scores express relative suitability, not measured performance.
Managing Complex Setups: Multi-Device & Small Space Strategies
When dealing with multiple monitors, power bricks, and docking stations in a small room, a "general" approach often fails. Use this hierarchy to manage high-density wiring:
- The Backbone First: Mount your heaviest power strips and "power bricks" (AC adapters) to the underside of the desk using a tray or heavy-duty mounting tape. This removes the heaviest weight from your cable runs.
- Layering (Data vs. Power): To minimize interference and make troubleshooting easier, route power cables along the back of the desk and data cables (USB, DisplayPort) through a separate sleeve or channel.
- The "Short Cable" Solution: If a cable is too short to route cleanly, do not pull it taut. Use a high-quality extension cord or a powered USB hub mounted under the desk to "bring the port to the cable."
- Small Room Verticality: In tight spaces, use the desk legs. Route all cables down a single leg using a "spine" manager or Velcro wraps to keep the floor clear for your chair and feet.
Practical Cable Management Methods and Tools
Start simple with cable ties or sleeves to bundle loose wires. Velcro-style reusable ties offer easy adjustments compared to plastic zip ties that require cutting for changes.
Under-desk cable trays provide the biggest visual impact. Mount them to hide power strips and excess cord length. For steel frame desks, magnetic trays or clips attach without tools and allow quick repositioning, as detailed in guides on magnetic cable management for steel frame desks.
Adhesive clips work on smooth surfaces but may lose grip over time in humid environments. Clamp-on solutions offer better longevity for desks with suitable edges.
For LED gaming desks, route cables away from light strips to prevent shadows or heat concentration. Our guide to 5 cable management hacks for LED gaming desks covers material-specific mounting and safe routing around lighting.
Material-Specific Techniques
- Steel Frame Desks: Magnetic options shine here. Strong neodymium magnets hold clips and channels securely along the frame. Safety Tip: While modern electronics are well-shielded, a common rule of thumb is to keep high-strength magnets away from traditional mechanical hard drives or sensitive analog peripherals. Refer to your device's manual for specific clearance requirements.
- Glass Desks: Avoid drilling or strong adhesives that could crack or mark the surface. Use weighted bases, edge clamps, or floor-based cable channels instead.
- Wood or Engineered Wood Desks: These accept most solutions. Pre-drill for screws to prevent splitting. Many desks with monitor shelves include dedicated cable routing paths underneath the shelf.
For renter-friendly setups, focus on no-drill approaches detailed in our no-drill cable management guide for hiding wires.
Step-by-Step Setup Process
- Audit your cables: Unplug everything and group by function (power, data, peripherals). Label tricky ones for easier future identification.
- Plan routes: Identify the shortest clean paths from devices to outlets. Group similar cables together.
- Install backbone solutions: Mount your main tray or channels first. For desks with built-in power outlets, route primary cables through these features.
- Secure and sleeve: Use sleeves for long runs and clips at regular intervals (typically every 8-12 inches) to prevent sagging, or as recommended by the clip manufacturer.
- Test and adjust: Plug everything back in, check for strain or tight bends, and verify that frequent-access cables remain reachable.
- Maintain: Every few months, dust trays and check connections. Re-route as your setup evolves.
Common Mistakes and What to Avoid
- Heat Traps: Fully enclosing a power strip can trap heat. Always ensure adequate ventilation and perform periodic visual checks to ensure components aren't overheating.
- Excessive Tension: Avoid sharp bends in cables, which accelerate wear on internal wires. Leave gentle loops for strain relief.
- Over-bundling: Don't bundle cables so tightly that cleaning becomes impossible. Dust buildup in hidden areas can contribute to heat retention over time.
Shopping for Desks That Simplify Cable Management
Look for desks with built-in features like cable trays, grommets, power outlets, and monitor shelves. These reduce the accessories needed for a clean result.
Consider L-shaped gaming desks with monitor stands and shelves that provide dedicated routing zones. Models with integrated power outlets, such as the 57-inch L-shaped gaming desk with RGB lights and outlets, minimize visible cords from the start.
Browse the full Bestier LED gaming desk collection or L-shaped desk collection to find models designed with cable management in mind.
Final Checklist for a Clean Desk Setup
- [ ] Match methods to your desk material and rental status.
- [ ] Prioritize ventilation around power strips and adapters.
- [ ] Keep frequently used cables (chargers, headsets) accessible.
- [ ] Leave gentle curves rather than tight, 90-degree bends.
- [ ] Plan for future upgrades by using adjustable Velcro rather than permanent zip ties.
- [ ] Route vertically along desk legs to maximize floor space in small rooms.
Important Note on Comfort and Setup: This article discusses aesthetic organization and practical desk setup techniques only. It does not address health, medical, or ergonomic diagnoses. Cable management choices may affect perceived workspace comfort depending on your room conditions, device quality, and personal preferences. If you experience discomfort, fatigue, or other issues while using your setup, consult qualified professionals for personalized advice. Results vary by individual circumstances and environment.