


Summary
Mounting a microphone boom arm to a desk with a monitor riser requires careful consideration of clamp depth and shelf clearance to ensure stability without obstructing your workspace. By selecting a mounting point that avoids the riser's support structure or utilizing a grommet mount, you can achieve a professional audio setup that maintains the ergonomic benefits of an elevated monitor.
Key takeaways
- Check Clearance: Measure the gap between the desk surface and the bottom of the monitor riser to ensure your boom arm clamp has enough room to tighten securely.
- Strategic Positioning: For L-shaped desks, mounting the boom arm on the side opposite the monitor riser or in the corner radius often provides the best range of motion.
- Surface Protection: Use a 2mm–3mm steel reinforcement plate or a non-slip rubber pad to distribute pressure and protect engineered wood from compression.
- Alternative Mounts: If a standard C-clamp won't fit, consider a grommet mount or a low-profile boom arm designed for tight spaces.
- Cable Routing: Utilize the existing cable management channels on your desk or riser to keep microphone cables organized and out of the way.
Understanding Clamp Depth and Shelf Clearance
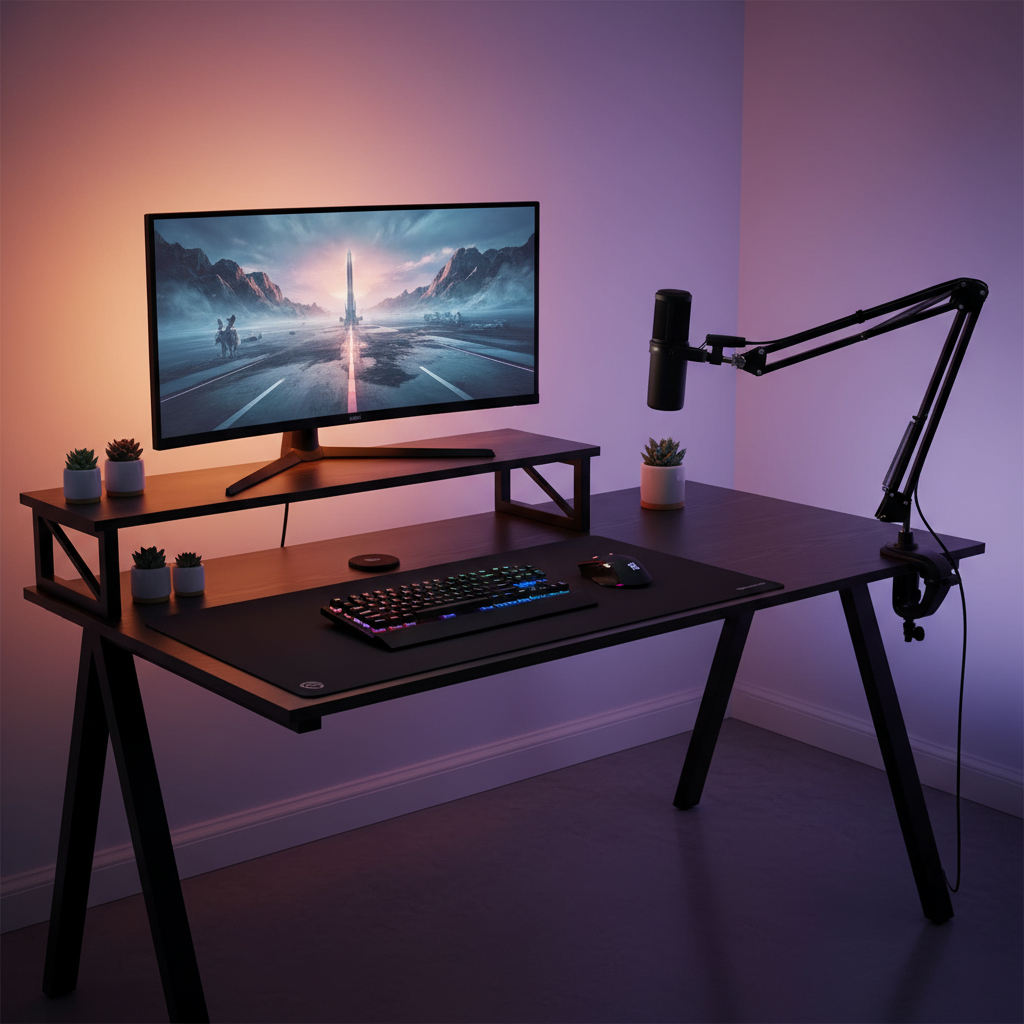
The primary challenge when adding a boom arm to a desk with an integrated monitor riser is the physical obstruction created by the shelf. Most standard boom arms use a C-clamp mechanism that requires several inches of flat surface area on both the top and bottom of the desk edge.
Compatibility Checklist: Measuring Your Space
To determine if a boom arm will fit, you must measure two critical dimensions:
- Throat Depth: This is the distance from the edge of the clamp to the vertical screw. Most standard clamps (like the Rode PSA1) require approximately 2.5 to 3.5 inches (65-90mm) of clear depth under the desk.
- Shelf Clearance: Measure the vertical gap between the desk surface and the bottom of the monitor riser. If this gap is less than the height of the clamp's top plate (usually 0.5 to 1 inch), the clamp will not slide in.
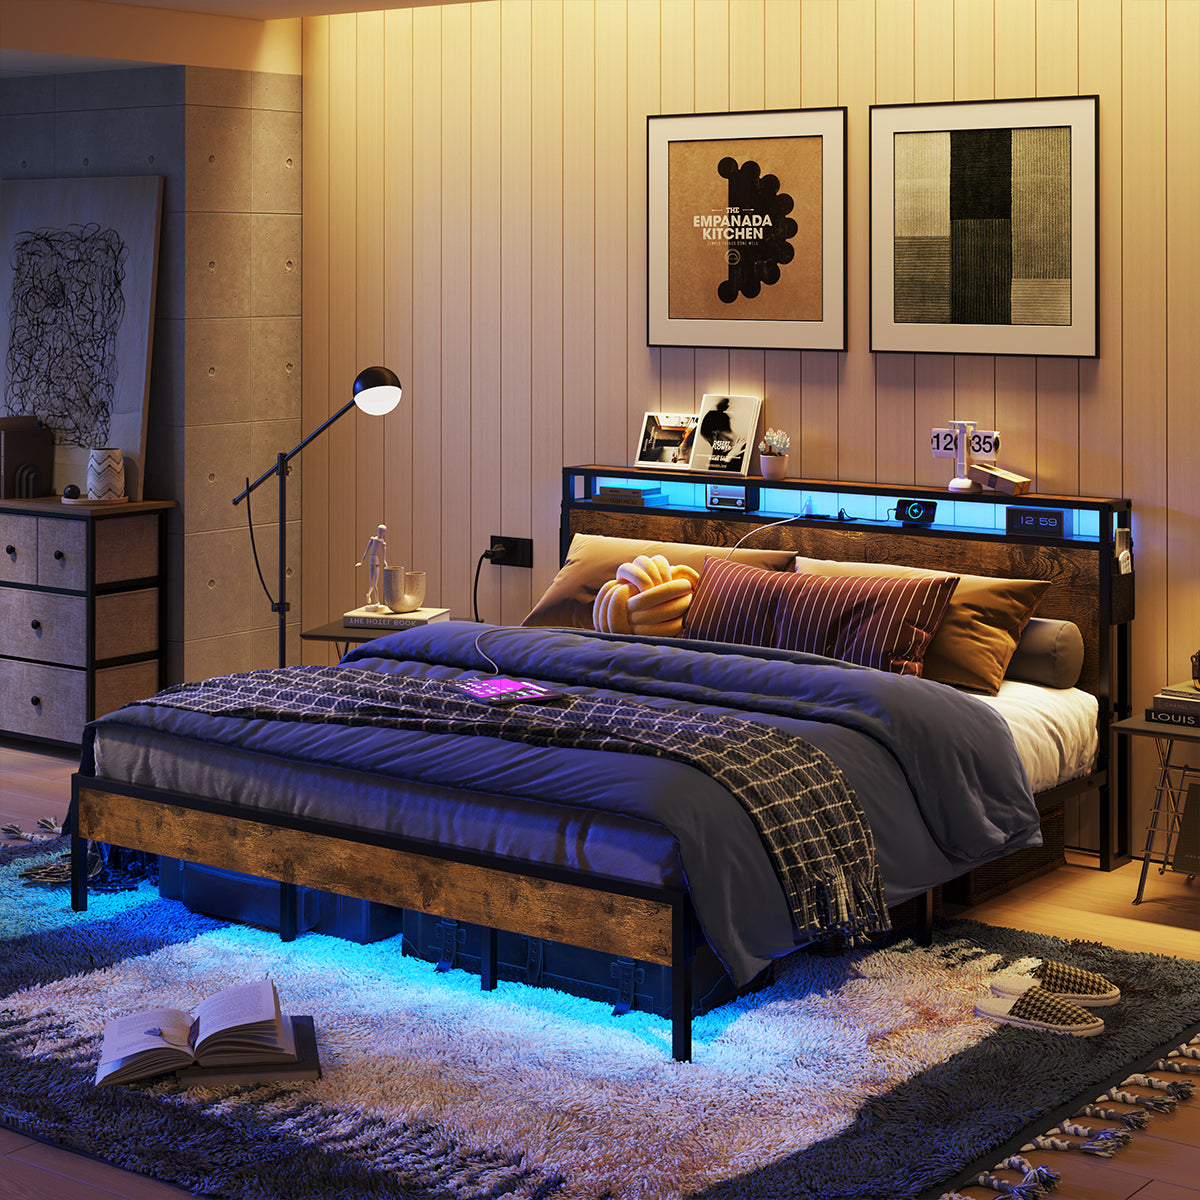
Before purchasing, compare these measurements to the available space on your desk. If your riser is flush with the back edge, you may need to mount the arm on the side edge or look for a clamp with a shallower profile. For those using a 48-inch LED L-shaped gaming desk with monitor stand, the built-in riser is designed to provide maximum surface area, but the mounting point should still be chosen to avoid the riser's vertical supports.
Expert Note: This recommendation assumes a standard C-clamp boom arm. If your desk has a very thick frame or a riser that covers the entire back edge, a standard clamp may not be compatible regardless of depth.
Optimal Mounting Positions for L-Shaped Desks with Risers
L-shaped desks offer unique mounting opportunities because they provide multiple edges and angles. When a monitor riser is installed on one side of the "L," the most effective mounting position for a boom arm is typically on the adjacent side. This allows the arm to swing across your body without hitting the monitor or the shelf.
Many creators find that mounting the arm near the corner radius—where the two sections of the desk meet—provides the most flexible reach. This position allows the microphone to be easily moved in front of the user during recording and pushed back against the wall when not in use. In an L-shaped desk collection, you will often find models with ample space on the non-riser side specifically for such accessories. For more detailed layouts, you can explore our ultimate L-shaped gaming desk guide to see how to maximize your workspace.

Protecting Engineered Wood Surfaces During Installation
Safety Disclaimer: The following installation tips are based on common industry practices. Always refer to your specific boom arm and desk manuals for weight limits and torque recommendations. We are not responsible for structural damage or equipment failure resulting from improper installation.
Most modern gaming desks are constructed from high-quality engineered wood, such as MDF or particle board. While these materials are durable, they have a lower compression limit than solid hardwood. A tightly screwed boom arm clamp can leave permanent indentations or even crack the surface over time if the pressure is too concentrated.
To prevent this, we recommend the following "Rule of Thumb" reinforcements:
- Steel Reinforcement Plates: Use a plate at least 4" x 4" (10cm x 10cm) and 2mm–3mm thick. This spreads the clamping force across a wider surface area.
- Rubber Padding: A simple piece of 1/8-inch non-slip rubber between the clamp and the desk prevents the metal from "biting" into the finish.
Bestier products adhere to strict safety standards, as detailed in our comprehensive guide to CARB & TSCA standards, ensuring materials are safe for indoor air quality and structurally sound for standard office use when accessories are installed correctly.
Comparison of Mounting Methods
Based on common studio setups, here is how different mounting methods compare in terms of stability and risk to the desk surface:
| Mounting Method | Best For | Stability | Surface Risk | Pros |
|---|---|---|---|---|
| Standard C-Clamp | Open desk edges | High | Moderate | Easy to move, no drilling |
| Grommet Mount | Desks with cable holes | Very High | Low | Very stable, clean look |
| Wall Mount | Small desks/tight spaces | Maximum | None (to desk) | Zero desk footprint |
| Shelf Mount | Sturdy risers | Moderate | Moderate | Keeps desk surface clear |
Alternative Mounting Solutions: Grommets and Shelf Clamps
If the monitor riser completely blocks the back edge of your desk, you don't have to give up on a boom arm. Many professional-grade arms, such as those from Rode or Blue, come with a grommet mounting kit. This allows you to mount the arm through an existing cable management hole in the desk surface. This is often the cleanest solution for an ergonomic gaming desk setup with monitor riser, as it bypasses the shelf obstruction entirely.
Another option is to mount the boom arm directly to the monitor riser itself, provided the riser is made of sturdy material (at least 0.6 inches thick) and is securely attached to the desk. However, be cautious: mounting a heavy microphone to a light shelf can cause the shelf to tilt or vibrate, which may be picked up by the microphone. This is a common consideration when designing a professional home studio.

Integrated Cable Management for Riser Setups
A boom arm adds another set of cables to your desk, which can quickly lead to clutter. When mounting an arm near a monitor riser, use the riser's structure to your advantage. Many risers have built-in gaps or clips that can be used to route the XLR or USB cable from the microphone down to the PC.
For a truly clean look, use Velcro ties to secure the cable along the length of the boom arm, leaving enough slack at the joints for movement. Then, run the cable behind the monitor riser and into a cable management tray or through a grommet hole. This level of organization is one of the essential desk features for streamers who want to maintain a professional appearance on camera. If you are looking for more inspiration, check out our modular furniture blueprints for creators.
FAQ
Can I mount a boom arm to the monitor riser instead of the desk? Yes, if the shelf is at least 0.6 inches thick and securely fastened. However, the added leverage of the arm might cause the riser to flex. It is generally safer to mount to the main desk surface for maximum stability.
What should I do if my desk clamp is too wide for the space under the riser? Look for a "low-profile" boom arm clamp or a "top-down" clamp. Alternatively, using a grommet mount through a pre-drilled hole is a common workaround that avoids the edge clearance issue entirely.
Will a boom arm damage my Bestier desk? Bestier desks are durable, but concentrated pressure can cause indentations. We recommend using a mounting reinforcement plate or rubber padding, especially for heavy professional microphones.
How do I know if my boom arm is compatible with my desk's thickness? Most clamps fit desks between 0.5 and 2 inches thick. Bestier desks typically fall within this range. Always check the "Max Opening" spec on the boom arm's product page before buying.
Where is the best place to mount a boom arm on an L-shaped desk? The best location is usually on the side without the monitor riser, or in the corner radius. This provides the widest range of motion without hitting your monitors.
Do I need tools to mount a boom arm? C-clamps are usually tool-free. However, if you use a grommet mount and your desk lacks a pre-drilled hole, you will need a drill and a hole saw bit (usually 2-2.5 inches).
References
Government / Standards / Regulators
- EPA TSCA Title VI - Formaldehyde Standards for Composite Wood Products
- California Air Resources Board (CARB) - Airborne Toxic Control Measure (ATCM)